Da Hood RayX Script
-- Da Hood RayX Script (Aim Lock, Silent Aim, ESP, Camlock)
local RayX = {}

-- Aim Lock function
function RayX.aimLock(target)
    -- Automatically locks onto a target for precise shots
    -- Add target validation and aiming code here
end

-- Silent Aim function
function RayX.silentAim()
    -- Invisible aim that targets enemies without locking the camera
    -- Add silent aim logic here
end

-- Camlock function
function RayX.camlock(target)
    -- Locks the camera onto the target
    -- Add camlock logic here
end

-- ESP function
function RayX.esp()
    -- Show players through walls
    -- Add ESP logic here
end

-- Main function to activate all RayX features
function RayX.activate()
    RayX.aimLock("TargetPlayer")
    RayX.silentAim()
    RayX.camlock("TargetPlayer")
    RayX.esp()
end

-- Activate RayX script
RayX.activate()Description
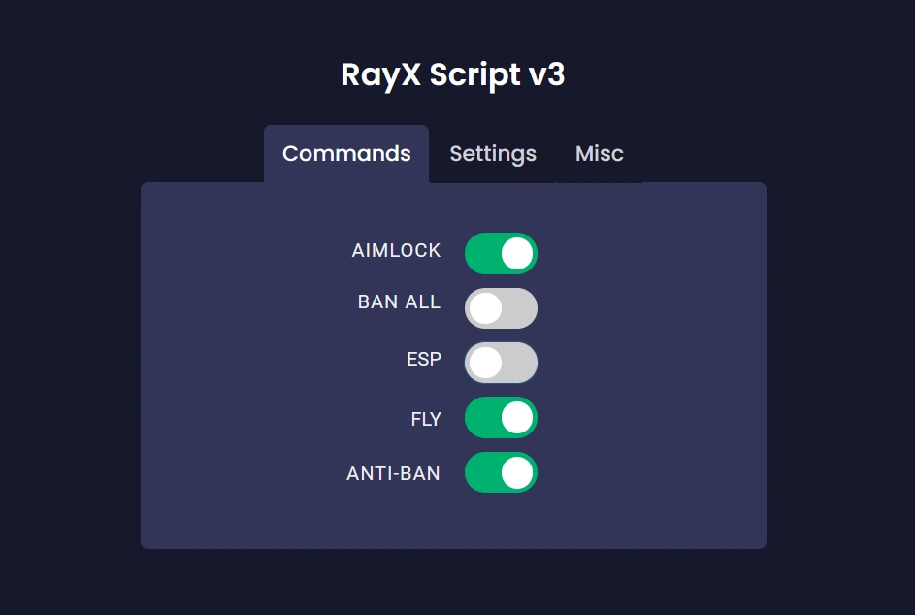
The Da Hood RayX Script is an all-in-one script offering Aim Lock, Silent Aim, ESP, Camlock, and many more advanced features for dominating the game. This script gives players a powerful advantage in PvP combat, allowing them to effortlessly lock onto targets, see through walls, and control the camera for precise movements.
You need an executor to use Roblox scripts
A script executor is required to use Da Hood RayX Script in Roblox. Make sure to choose a reliable script executor to run your scripts safely.
Learn moreFeatures
- Aim Lock: Automatically lock onto enemies for accurate shots.
- Silent Aim: Hit targets without locking your camera, staying under the radar.
- Camlock: Locks your camera to a target, providing enhanced control.
- ESP: See players through walls, making it easier to track enemies.
- Additional Features: Tons of extra customizations for better performance in Da Hood.
Instructions
- Download the Script: Copy the RayX Script.
- Launch Roblox: Open Roblox and join the Da Hood game.
- Open Script Executor: Use a reliable executor like Synapse X or Krnl.
- Paste the Script: Paste the copied script into the executor’s text area.
- Attach the Injector: Attach the injector to Roblox by clicking the Attach button.
- Execute the Script: Click Execute to activate the RayX features.
- Customize Features: Adjust the Aim Lock, Silent Aim, and ESP settings to suit your needs.
Verified by Marc
The Da Hood RayX Script has been verified to work by Marc Cooke, ensuring it performs as intended in-game.
How we verify scripts